Build a Nuxt app with Azure serverless REST API
In this article, we will learn how to build an static web app using Nuxt, with serverless APIs using Azure Functions CLI and Static Web Apps Emulator.
Table of Content
- Table of Content
- Prerequisites
- Setting up API project with Azure Function Core Tools
- Adding an serverless API for products
- Fetching products from API on the client-side
- Run and debug locally
- Resources
- Summary
Prerequisites
For our demo app, we will use Nuxt project with Vite. However, feel free to use any other frontend framework per your preference.
We create our demo app azure-funcs-demo-nuxt with the following command:
npx nuxi@latest init azure-funcs-demo-nuxt
And since we will build and deploy our APIs with Azure functions, you need an active Azure subscription (a free subscription is also available).
Lastly, you need to have Node.js v20+ and Azure Function Core Tools CLI installed for setting up our APIs project, which we will cover in the next section.
Setting up API project with Azure Function Core Tools
Azure Functions Core Tools is a set of CLI tools that you can use to create, develop, debug, and deploy Azure Functions in different programming languages.
Within our project's directory, we will create an TypeScript api project, using the below command:
func init api --worker-runtime typescript --model V4
The CLI then generates a new api folder, containing the following main files and folders:
.funcignore- contains the list of files and folders to be ignored when deploying to Azure.host.json- metadata file contains global configurations for all functions.local.settings.json- contains app settings, connection strings, environment variables used by local development tools.package.json- contains list of dependencies and scripts for the project.tsconfig.json- contains the TypeScript configurations.src/functions- where the function code resides.
We can now create a new function. Let's do it next.
Adding an serverless API for products
For our store, we create a serverless API function getProducts that returns a list of products, upon an HTTP GET request. To do so, within our /api folder, we run the below command:
func new --name getProducts --template "HTTP trigger"
Note here we use HTTP trigger as the template for serverless function.
The above command will create a new file src/functions/getProducts.ts, with some boilerplate code. We will go through and adjust the code to our needs.
Implementing the getProducts function
The boilerplate code defines a trigger function getProducts that accepts two arguments:
request- the actual request details.context- for logging, binding data, and retrieving other context information.
This function returns a Promise<HttpResponse> including the response's data, which is currently a simple string in the body.
We re-implement getProducts to return a list of products and an OK status code (200), as seen in the below code:
export async function getProducts(
    request: HttpRequest,
    context: InvocationContext
): Promise<HttpResponseInit> {
  const products = [
    { id: 1, name: 'Product 1', price: 100 },
    { id: 2, name: 'Product 2', price: 200 },
    { id: 3, name: 'Product 3', price: 300 },
  ];

  return { jsonBody: products, status: 200 };
};
Note here we replace the body with jsonBody to return the products as a JSON object. Otherwise, the response will be returned as a string.
Next, we will modify the function registration to handle only GET requests, and to be available at the endpoint api/products.
Registering the getProducts function
Azure CLI registered our getProducts function with a default configuration using app.http(), located at the end of the getProducts.ts file as follows:
/**... */
app.http('getProducts', {
    methods: ['GET', 'POST'],
    authLevel: 'anonymous',
    handler: getProducts
});
The above code registers the getProducts function as the handler for an HTTP request to the endpoint api/getProducts, with the following configurations' properties:
methods- the list of HTTP methods that the API supports.authLevel- the authentication level to access the API, such asanonymous.handler- the function handles the API request, which isgetProducts.route- the route template of the API endpoint. This params is very handy when we need a dynamic route for the API, while keeping the registered function name consistently.
To have the API available as api/products and only accept 'GET' requests, we change methods to 'GET', and its registered name to be products instead, as below:
app.http('products', {
  methods: ['GET'],
  authLevel: 'anonymous',
  handler: getProducts
});
We can also use the route property to achieve the same result, as follows:
app.http('getProducts', {
  //...
  methods: ['GET'],
  route: 'products'
});
Our API is now ready for us to consume in our web app, which we will do next.
Fetching products from API on the client-side
In our main codebase, we will create a pages/products.vue page that fetches the products from the API api/products, with the help of Nuxt's useFetch(), as seen below:
<template>
  <h1>Products</h1>
  <div v-if="pending">
    Loading ...
  </div>
  <ul v-else>
    <li v-for="product in products" :key="product.id">
      <article>
        <h2>{{ product.name }}</h2>
        <p>Price: {{ product.price }}</p>
      </article>
    </li>
  </ul>
</template>
<script setup>
const { data: products, pending } = await useFetch('/api/products', {
  server: false
});
</script>
That's it! Let's run and debug our app locally.
Run and debug locally
To run the app locally and have both the frontend and the api proxy in the same domain, we will use Azure Static Web App CLI.
Installing Azure Static Web App CLI
We install the CLI globally with the following command:
npm install -g @azure/static-web-apps-cli
Once installed, within our project, we can run swa command and follow the prompts to configure the settings for running and deploying our app. The CLI then generates a swa-cli.config.json file containing the configurations, with the following crucial options:
apiLocation- path to our APIs, which isapi.appLocation- path to our web app, which is..outputLocation- path to the build output of out web app, which isdist, mainly for deployment.apiDevServerUrl- the web app's local server, which ishttp://localhost:3000in our case.run- the command to run our web app locally, which isyarn dev.apiDevserverUrl- the API's local server, which is usuallyhttp://localhost:7071. Alternatively, you can manually set it using--api-devserver-urlin the command line.
Next, we will run both our API and web app, and verify the integration between them.
Running the app locally with swa emulator
First, in the api directory, we start the server for the APIs:
func start
The above command will run the server and provide us with the URL as seen below:

Note that every time we modify the API code, we must restart the server to have the changes applied.
Next, in our main project's root directory, we start the proxy server for our app with the below command:
swa start
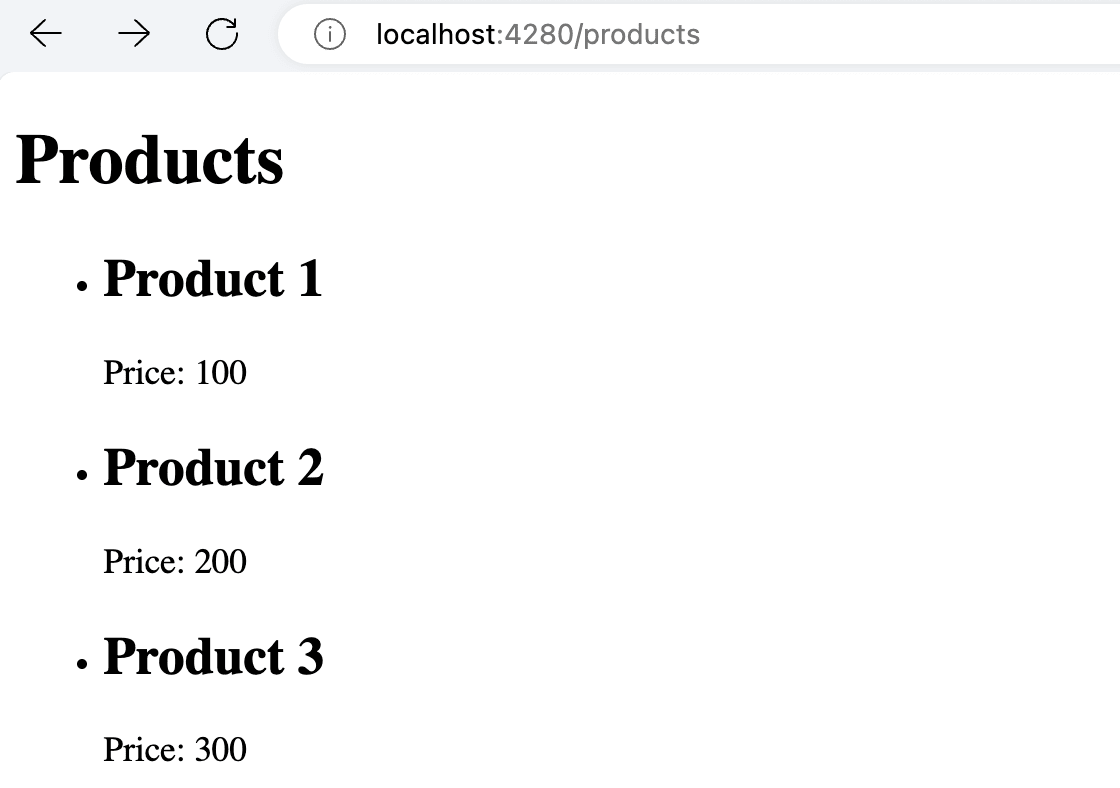
We will then have our web app's emulator running locally, with proxy to our APIs, at http://localhost:4280, as seen below:

We can use this URL to access the web app using a browser. Both the API and the web app should be now running on the same server endpoint and accessible locally.
Resources
The demo project is available on GitHub.
Summary
In this post, we learned how to add a standard TypeScript serverless APIs project using Azure Functions. We also learned how to consume the created API in our Nuxt app and run both the API and the web app locally using SWA CLI Emulator. In the upcoming post, we will learn how to secure both API and the web app using OAuth2 Authentication, and deploy them to Azure.
👉 Learn about Vue 3 and TypeScript with my new book Learning Vue!
👉 If you'd like to catch up with me sometimes, follow me on X | LinkedIn.
Like this post or find it helpful? Share it 👇🏼 😉