Compose image thumbnail with Cloudinary and Vue

Image optimization has always been a hot topic for web performance, with different approaches and solutions such as lazy loading, responsive images, etc. One popular solution is to use a CDN to serve the optimized variants of an image depending on the application's needs on run time. However, building a suitable variant can sometimes be a challenge. In this post, we will explore how to build a Vue composable for creating an image thumbnail dynamically from a Cloudinary-based image URL with Cloudinary and composition API.
Table of Content
- Table of Content
- Prerequisites
- Setting up Cloudinary with cloudinary-build-url package
- Building the Cloudinary composable
- Create a thumbnail with useCloudinary composable
- Summary
Prerequisites
This post assumes you have a basic understanding of Vue 3 Composition API and a Cloudinary account (you can create one for free here). We will need a working Vue project, which we can create with the following command:
npm init vue@latest
We will use TypeScript in this tutorial, so select it when prompted. Once created, we can run the project with the command yarn dev and be ready to move on.
Setting up Cloudinary with cloudinary-build-url package
Cloudinary is a cloud-based service offering images and videos end-to-end solutions, such as storing, manipulating, optimizing, and delivering through a fast CDN and its URL-based API. Many SDKs and libraries are available in the community aiming to provide a good DX (Developer Experience) when working with Cloudinary. This tutorial will install and use the Cloudinary Build URL, a lightweight TypeScript URL builder for Cloudinary transformations on a specific image.
Let's install the package with the following command:
yarn add cloudinary-build-url
We also add TypeScript support using the below command:
yarn add -D @cld-apis/types
Once done, we are ready to build our Cloudinary composable, which we will do next.
Building the Cloudinary composable
We will create a new file called useCloudinary.ts in our composables folder and start by importing the setConfig method from the cloudinary-build-url package to initialize our instance with our Cloudinary cloud name:
//composables/useCloudinary.ts
import { setConfig } from 'cloudinary-build-url'

setConfig({
  cloudName: 'your-cloud-name',
})
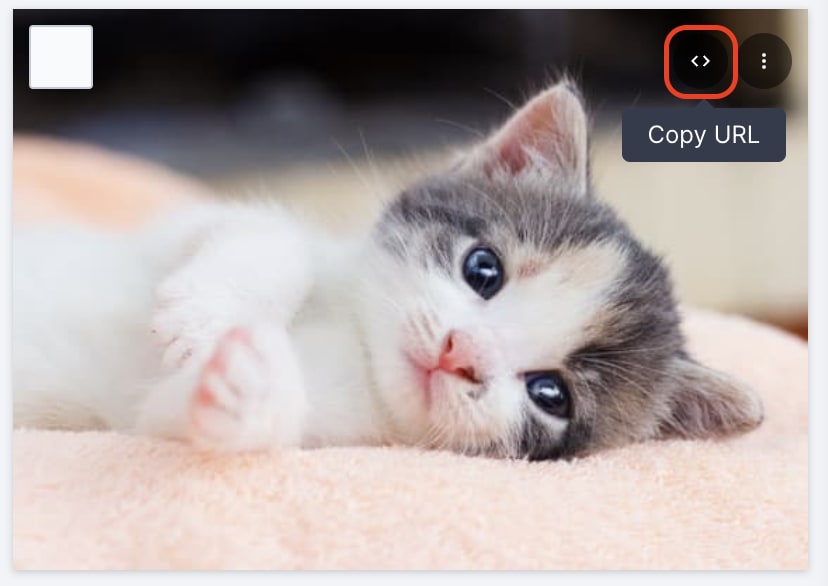
To find your Cloudinary cloud name, navigate to your Cloudinary console - Programmable Media Dashboard and copy the value of the Cloud name field, as seen in the below screenshot:

Next, we will create our composable - useCloudinary with the following code:
//composables/useCloudinary.ts
import { setConfig, buildImageUrl, extractPublicId } from 'cloudinary-build-url'

//...
export const useCloudinary = (fullPath: string) => {
    const publicId = extractPublicId(fullPath);

    const transformations = ref({});

    const url = computed(() => {
        return buildUrl(publicId, {
            transformations: transformations.value,
        });
    });

    return {
        url,
        transformations,
    }
}
In the code above, we use extractPublicId to extract the public ID of the image path copied from the Cloudinary console. The transformations is a reactive object that we will use to dynamically store the transformations applied to the image. And we then use buildImageUrl to build the image's url from the public ID and the given transformations.
The composable then exposes the url and transformations to the consuming component. We will use these values to display the image in the component next.
Create a thumbnail with useCloudinary composable
We will create a new component called ImageDemo.vue in the components folder, which accepts src and alt as props for displaying an image, with the following code:
<template>
    <img :src="src" :alt="alt" />
</template>
<script setup>
const props = defineProps({
    src: {
        type: String,
        required: true,
    },
    alt: {
        type: String,
        required: true,
    },
});
</script>
Next, we import useCloudinary and get url and transformations to build the image URL from the given src as follows:
<!--components/ImageDemo.vue-->
<script setup>
import { useCloudinary } from '../composables/useCloudinary.ts'

//...
const { url, transformations } = useCloudinary(props.src)
</script>
We also replace the src in the template with url:
<template>
    <img :src="url" :alt="alt" />
</template>
And let's add a method to add a crop thumbnail method to the transformations object as follows:
<template>
    <!--...-->
    <button @click="createThumbnail">Create round thumbnail</button>
</template>
<script setup>
import { RESIZE_TYPES } from '@cld-apis/utils'
//...

const createThumbnail = () => {
    transformations.value = {
        resize: {
          type: RESIZE_TYPES.FILL,
          width: 200,
          height: 200,
        },
        radius: 'max',
    };
};
</script>
In the above code, we use the RESIZE_TYPES.FILL enum from the @cld-apis/utils package to crop and resize the image without distortion to a square of 200x200 pixels. We also set the radius to max for a round thumbnail.
Once done, we navigate to the App.vue component and use the ImageDemo component as follows:
<template>
    <ImageDemo
        src="<your-cloudinary-image-url>"
        alt="An example image"
    />
</template>
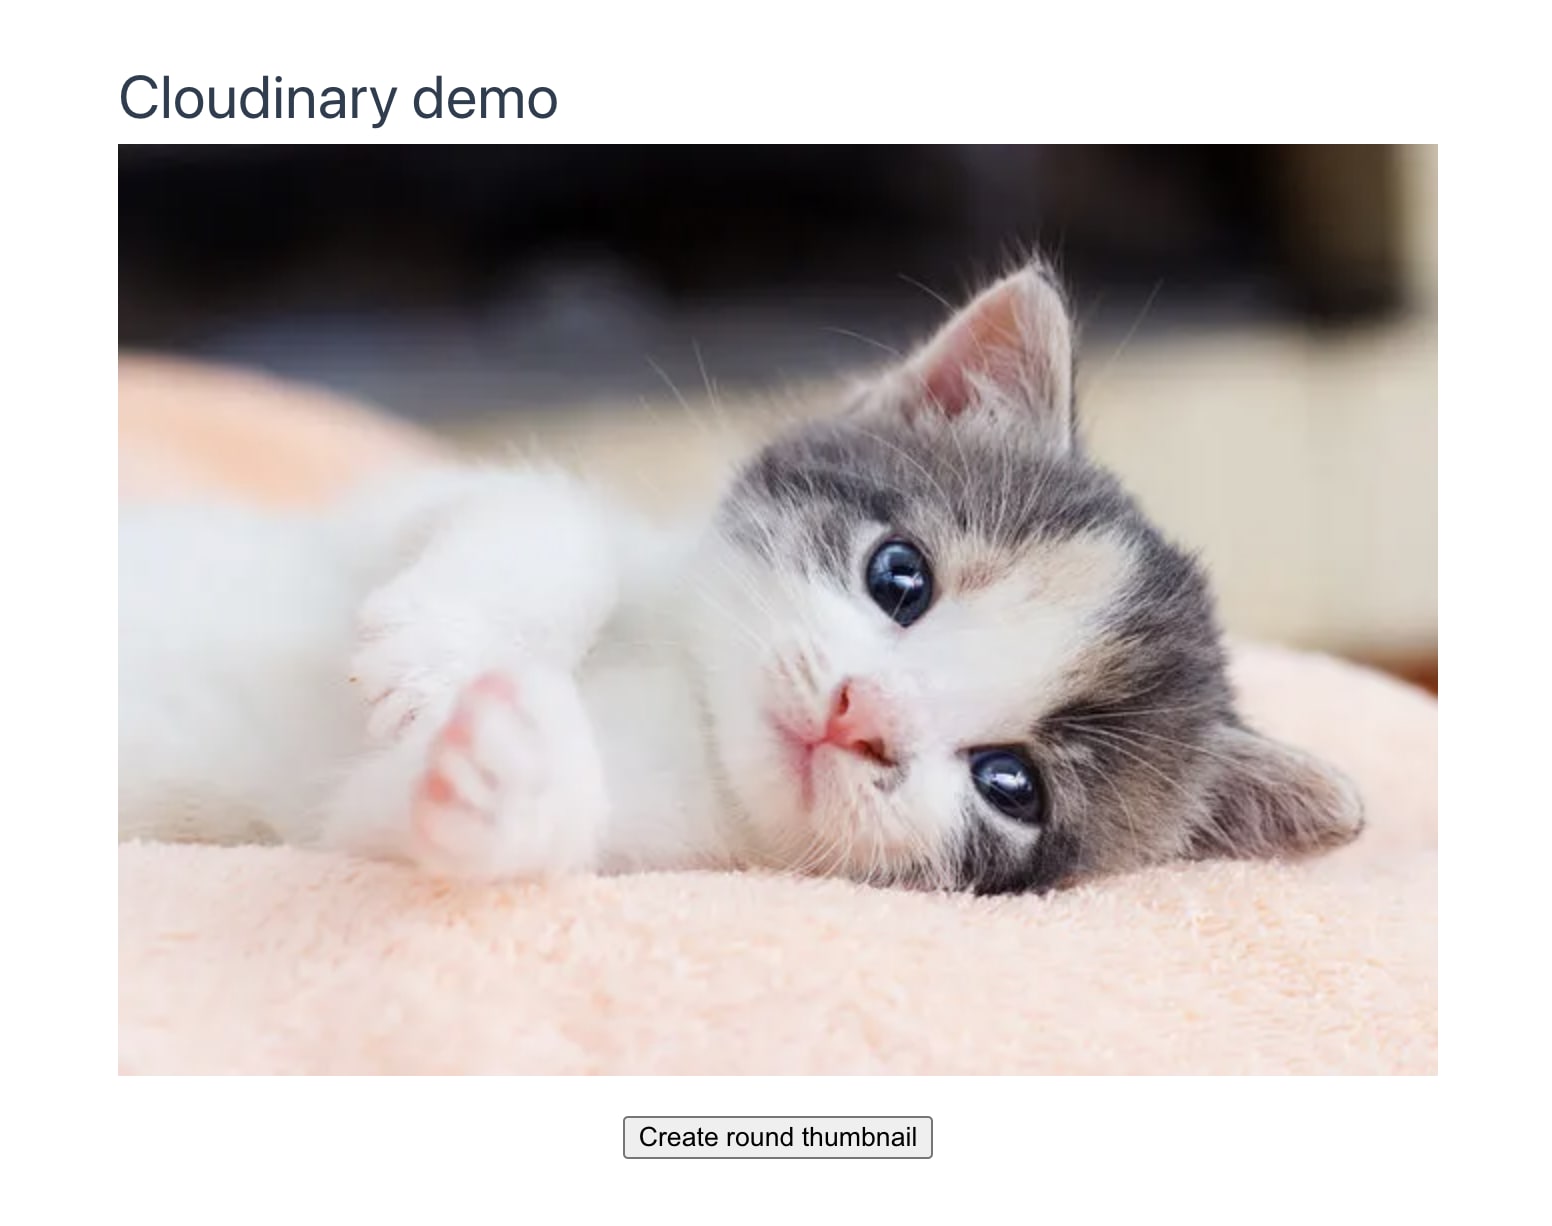
The src should be a Cloudinary-based delivery URL, which can be copied in the Cloudinary Console as seen in the screenshot:
After you pass the URL to ImageDemo, you will see the image displayed as in the following example screenshot:
And upon clicking on the button Create round thumbnail, our example image will now become:

And that's it! We now have a simple demo of using Cloudinary as a composable to transform our image dynamically.
Summary
In this article, we have learned how to create a composable for transforming images dynamically with Cloudinary using the cloudinary-build-url package. We also build a small demo to showcase the composable in action.
What's next? How about being more creative and playing with your image transformations using the official Cloudinary documentation and the Cloudinary Build URL package? I will love to see what you come up with!
👉 Learn about Vue with my new book Learning Vue. The early release is available now!
👉 If you'd like to catch up with me sometimes, follow me on Twitter | Facebook | Threads.
Like this post or find it helpful? Share it 👇🏼 😉